Google reCAPTCHA V2
Easily integrate Google reCAPTCHA V2 with your form in only a few simple steps
Automatically render
Automatically rendering is the easiest method for integrating the reCAPTCHA V2 widget on your page.
1. Add your secret key
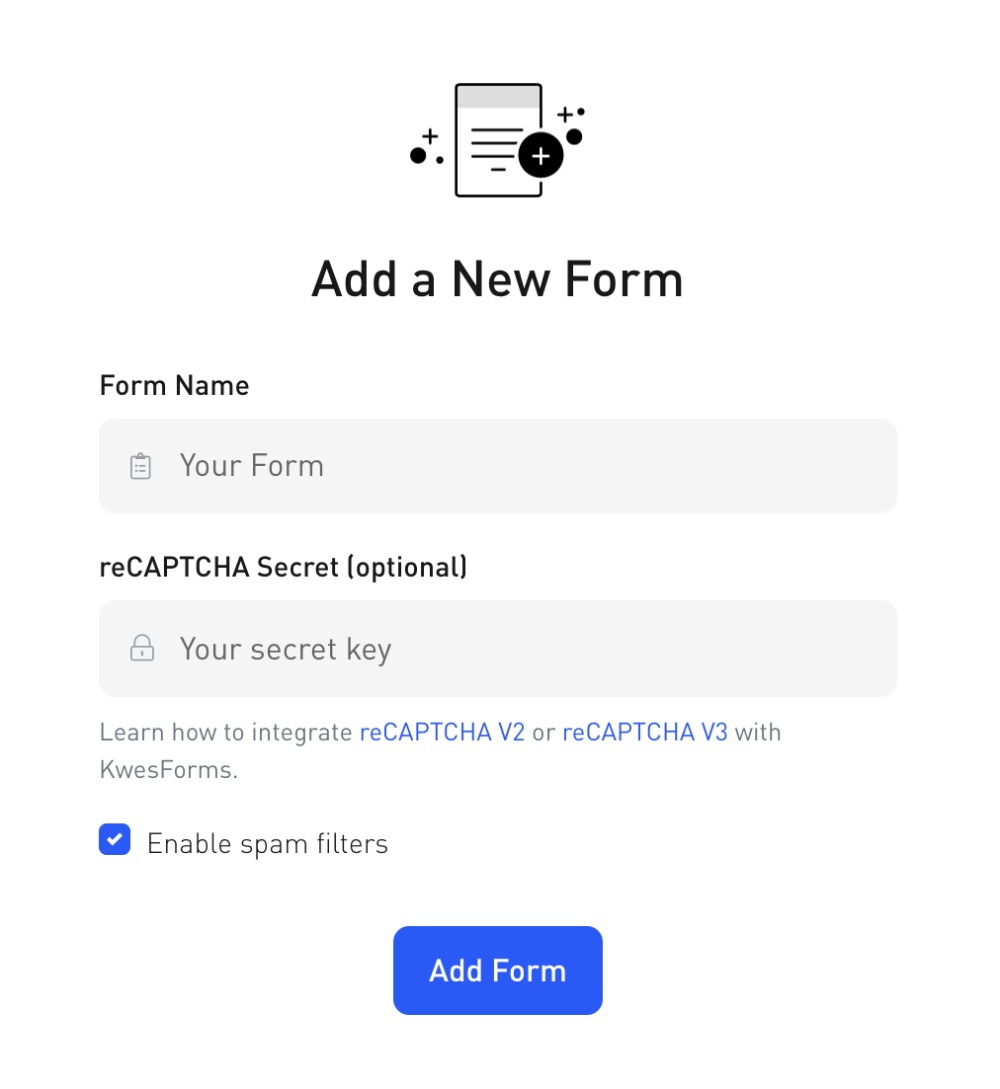
Add your Google reCAPTCHA secret key in your form settings when creating a new form or editing an existing forms settings.

2. Add form attributes
In order to use reCAPTCHA V2 with KwesForms, we require a special has-recaptcha-v2 attribute on your form tag.
<form ... has-recaptcha-v2>
    ...
</form>
3. Add reCAPTCHA script
Add the Google reCAPTCHA script in your documents head as you normally would.
<script src="https://www.google.com/recaptcha/api.js" async defer></script>
4. Add reCAPTCHA element
Add the Google reCAPTCHA element in your form as you normally would.
<div class="g-recaptcha" data-sitekey="YOUR_SITE_KEY"></div>
Example
<!DOCTYPE html>
<html>
<head>
    <title>This is a local form test.</title>
    <script src="https://www.google.com/recaptcha/api.js" async defer></script>
</head>
<body>
    <form
        class="kf-form"
        action="YOUR_FORM_ACTION"
        has-recaptcha-v2
    >
        <label for="your_name">Your Name</label>
        <input type="text" name="your_name">

        <div class="g-recaptcha" data-sitekey="YOUR_SITE_KEY"></div>

        <button type="submit">Submit</button>
    </form>

    <script src="https://kwesforms.com/v2/kf-script.js" defer></script>
</body>
</html>
<!DOCTYPE html>
<html>
<head>
    <title>This is a local form test.</title>
    <script src="https://www.google.com/recaptcha/api.js" async defer></script>
</head>
<body>
    <form
        class="kf-form"
        action="YOUR_FORM_ACTION"
        data-kw-has-recaptcha-v2
    >
        <label for="your_name">Your Name</label>
        <input type="text" name="your_name">

        <div class="g-recaptcha" data-sitekey="YOUR_SITE_KEY"></div>

        <button type="submit">Submit</button>
    </form>

    <script src="https://kwesforms.com/v2/kf-script.js" defer></script>
</body>
</html>
Explicitly render
Explicitly rendering allows you to manually control when to load reCAPTCHA and add additional parameters.
For example, when using js frameworks such as AngularJs or React, the view template of the application may not be loaded yet when the reCAPTCHA is loaded. In this case explicit rendering is needed.
If you're explicitly rendering the Google reCAPTCHA widget you will need to add this google script instead of the one mentioned above for automatically rendering:
<script src="https://www.google.com/recaptcha/api.js?onload=callback&render=explicit" async defer></script>
You also need to specifiy the element for your widget and dynamically add the recaptcha-v2-widget-id attribute on your form tag so that KwesForms can recognize it. This will require you to manually re-initialize your form as the code below shows.
<script>
    var myForm = document.getElementById('form');
    var widgetId1;

    var onloadCallback = function() {
        // Renders the HTML element with id 'example1' as a reCAPTCHA widget.
        // The id of the reCAPTCHA widget is assigned to 'widgetId1'.
        widgetId1 = grecaptcha.render('example1', {
            'sitekey' : 'YOUR_SITE_KEY',
        });

        myForm.setAttribute('recaptcha-v2-widget-id', widgetId2);

        //  manually re-initialize our form.
        window.kwesFormsInitialize();
    };
</script>
Example
<!DOCTYPE html>
<html>
<head>
    <title>This is a local form test.</title>
</head>
<body>
    <form
        id="myForm"
        class="kf-form"
        action="YOUR_FORM_ACTION"
        has-recaptcha-v2
    >
        <label for="your_name">Your Name</label>
        <input type="text" name="your_name">

        <div id="example2"></div>

        <button type="submit">Submit</button>
    </form>

    <script src="https://kwesforms.com/v2/kf-script.js" defer></script>
    <script>
        var myForm = document.getElementById('myForm');
        var widgetId1;

        var onloadCallback = function() {
            // Renders the HTML element with id 'example1' as a reCAPTCHA widget.
            // The id of the reCAPTCHA widget is assigned to 'widgetId1'.
            widgetId1 = grecaptcha.render('example1', {
                'sitekey' : 'YOUR_SITE_KEY',
            });

            myForm.setAttribute('recaptcha-v2-widget-id', widgetId1);

            //  manually re-initialize our form.
            window.kwesFormsInitialize();
        };
    </script>
</body>
</html>
<!DOCTYPE html>
<html>
<head>
    <title>This is a local form test.</title>
</head>
<body>
    <form
        id="myForm"
        class="kf-form"
        action="YOUR_FORM_ACTION"
        data-kw-has-recaptcha-v2
    >
        <label for="your_name">Your Name</label>
        <input type="text" name="your_name">

        <div id="example2"></div>

        <button type="submit">Submit</button>
    </form>

    <script src="https://kwesforms.com/v2/kf-script.js" defer></script>
    <script>
        var myForm = document.getElementById('myForm');
        var widgetId1;

        var onloadCallback = function() {
            // Renders the HTML element with id 'example1' as a reCAPTCHA widget.
            // The id of the reCAPTCHA widget is assigned to 'widgetId1'.
            widgetId1 = grecaptcha.render('example1', {
                'sitekey' : 'YOUR_SITE_KEY',
            });

            myForm.setAttribute('data-kw-recaptcha-v2-widget-id', widgetId1);

            //  manually re-initialize our form.
            window.kwesFormsInitialize();
        };
    </script>
</body>
</html>
Notice anything wrong in our docs? Let us know.
