Form setup
Setting up your form with KwesForms requires setting up your dashboard before actually creating your form. Our setup requirements allow you to use our top-notch form security, our timesaving building components, complete spam protection, and even share the form with other accounts.
Dashboard setup
The first two steps are to name your project website and form in your KwesForms account.
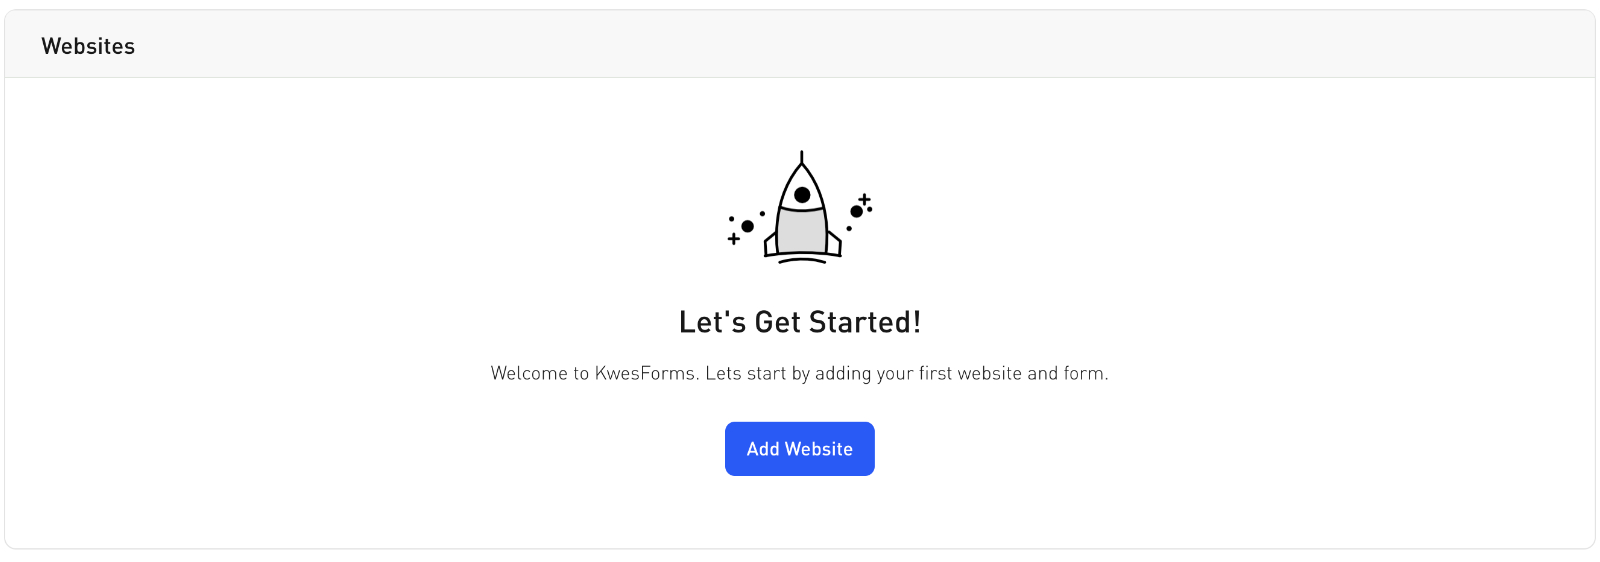
Add a website
On the dashboard page click on the "add a website" button and give your website a name.
Add a form
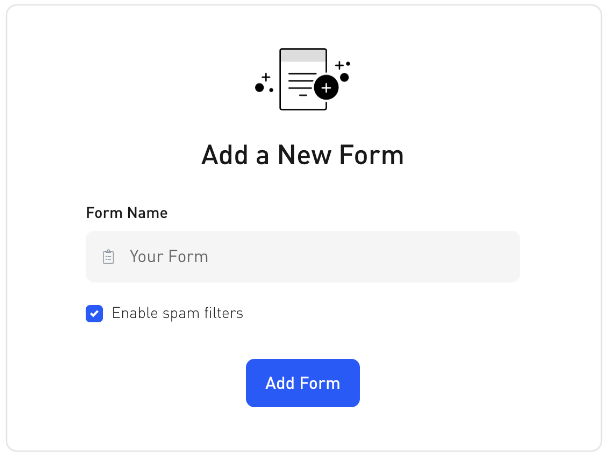
On the next panel give your form a name.
Create Your Form
From this point forward you start building your form using your own HTML, CSS, our form building components, and whatever else your form may require.
Add our action URL
Add the form endpoint URL we provide to your form action.
<form method="POST" action="YOUR_CUSTOM_FORM_ACTION">
    ...
</form>
Add your form fields
Add your form fields the same way you normally would with HTML and CSS. All fields require a unique "name" attribute.
<form method="POST" action="YOUR_CUSTOM_FORM_ACTION">
    <label for="name">Your Name</label>
    <input type="text" name="name">
    <button type="submit">Submit</button>
</form>
Supercharge your form (optional)
Optionally add our JS link before your closing </body> tag to benefit from our validation rules, special fields, improved spam protection, and more.
Install via NPM
Install KwesForms with a simple npm install.
npm install kwesforms
Import or require our kwesforms module
// Use import
import kwesforms from 'kwesforms';

// Or use require
const kwesforms = require('kwesforms');
Initialize kwesforms in the mounted method or hook of the component/view that you will be using KwesForms in.
kwesforms.init();
Install via CDN
If you're not using a package.json or any frontend framework, use our CDN instead. Add our JavaScript link below before your closing </body> tag. No need to import or initialize anything if you use our CDN.
<script src="https://kwesforms.com/v2/kf-script.js" defer></script>
Add Our Class
Add the class kf-form to your <form> tag. This helps our script find your form.
<form ... class="kf-form">
    ...
</form>
Connect your form
Send your first submission to connect your form to our backend.
SPA Instructions
For SPA's, follow our Install via NPM instructions.
Wordpress Instructions
Follow our Install via CDN instructions and keep in mind these few suggestions:
-
You can setup your form inside the WordPress page/post editor for very basic forms. With this option you run the risk of the form not working correctly since WordPress may strip the form of important custom attributes needed for it to work properly unless you use our data-kw-* (W3C) syntax.
-
You can place your form code inside a template file.
-
You can turn your form code into a WordPress shortcode and add it to in the Wordpress page/post editor.
Notice anything wrong in our docs? Let us know.